Scheduling
The Scheduling tab lets you plan automatic actions on your outputs using weekly schedules.
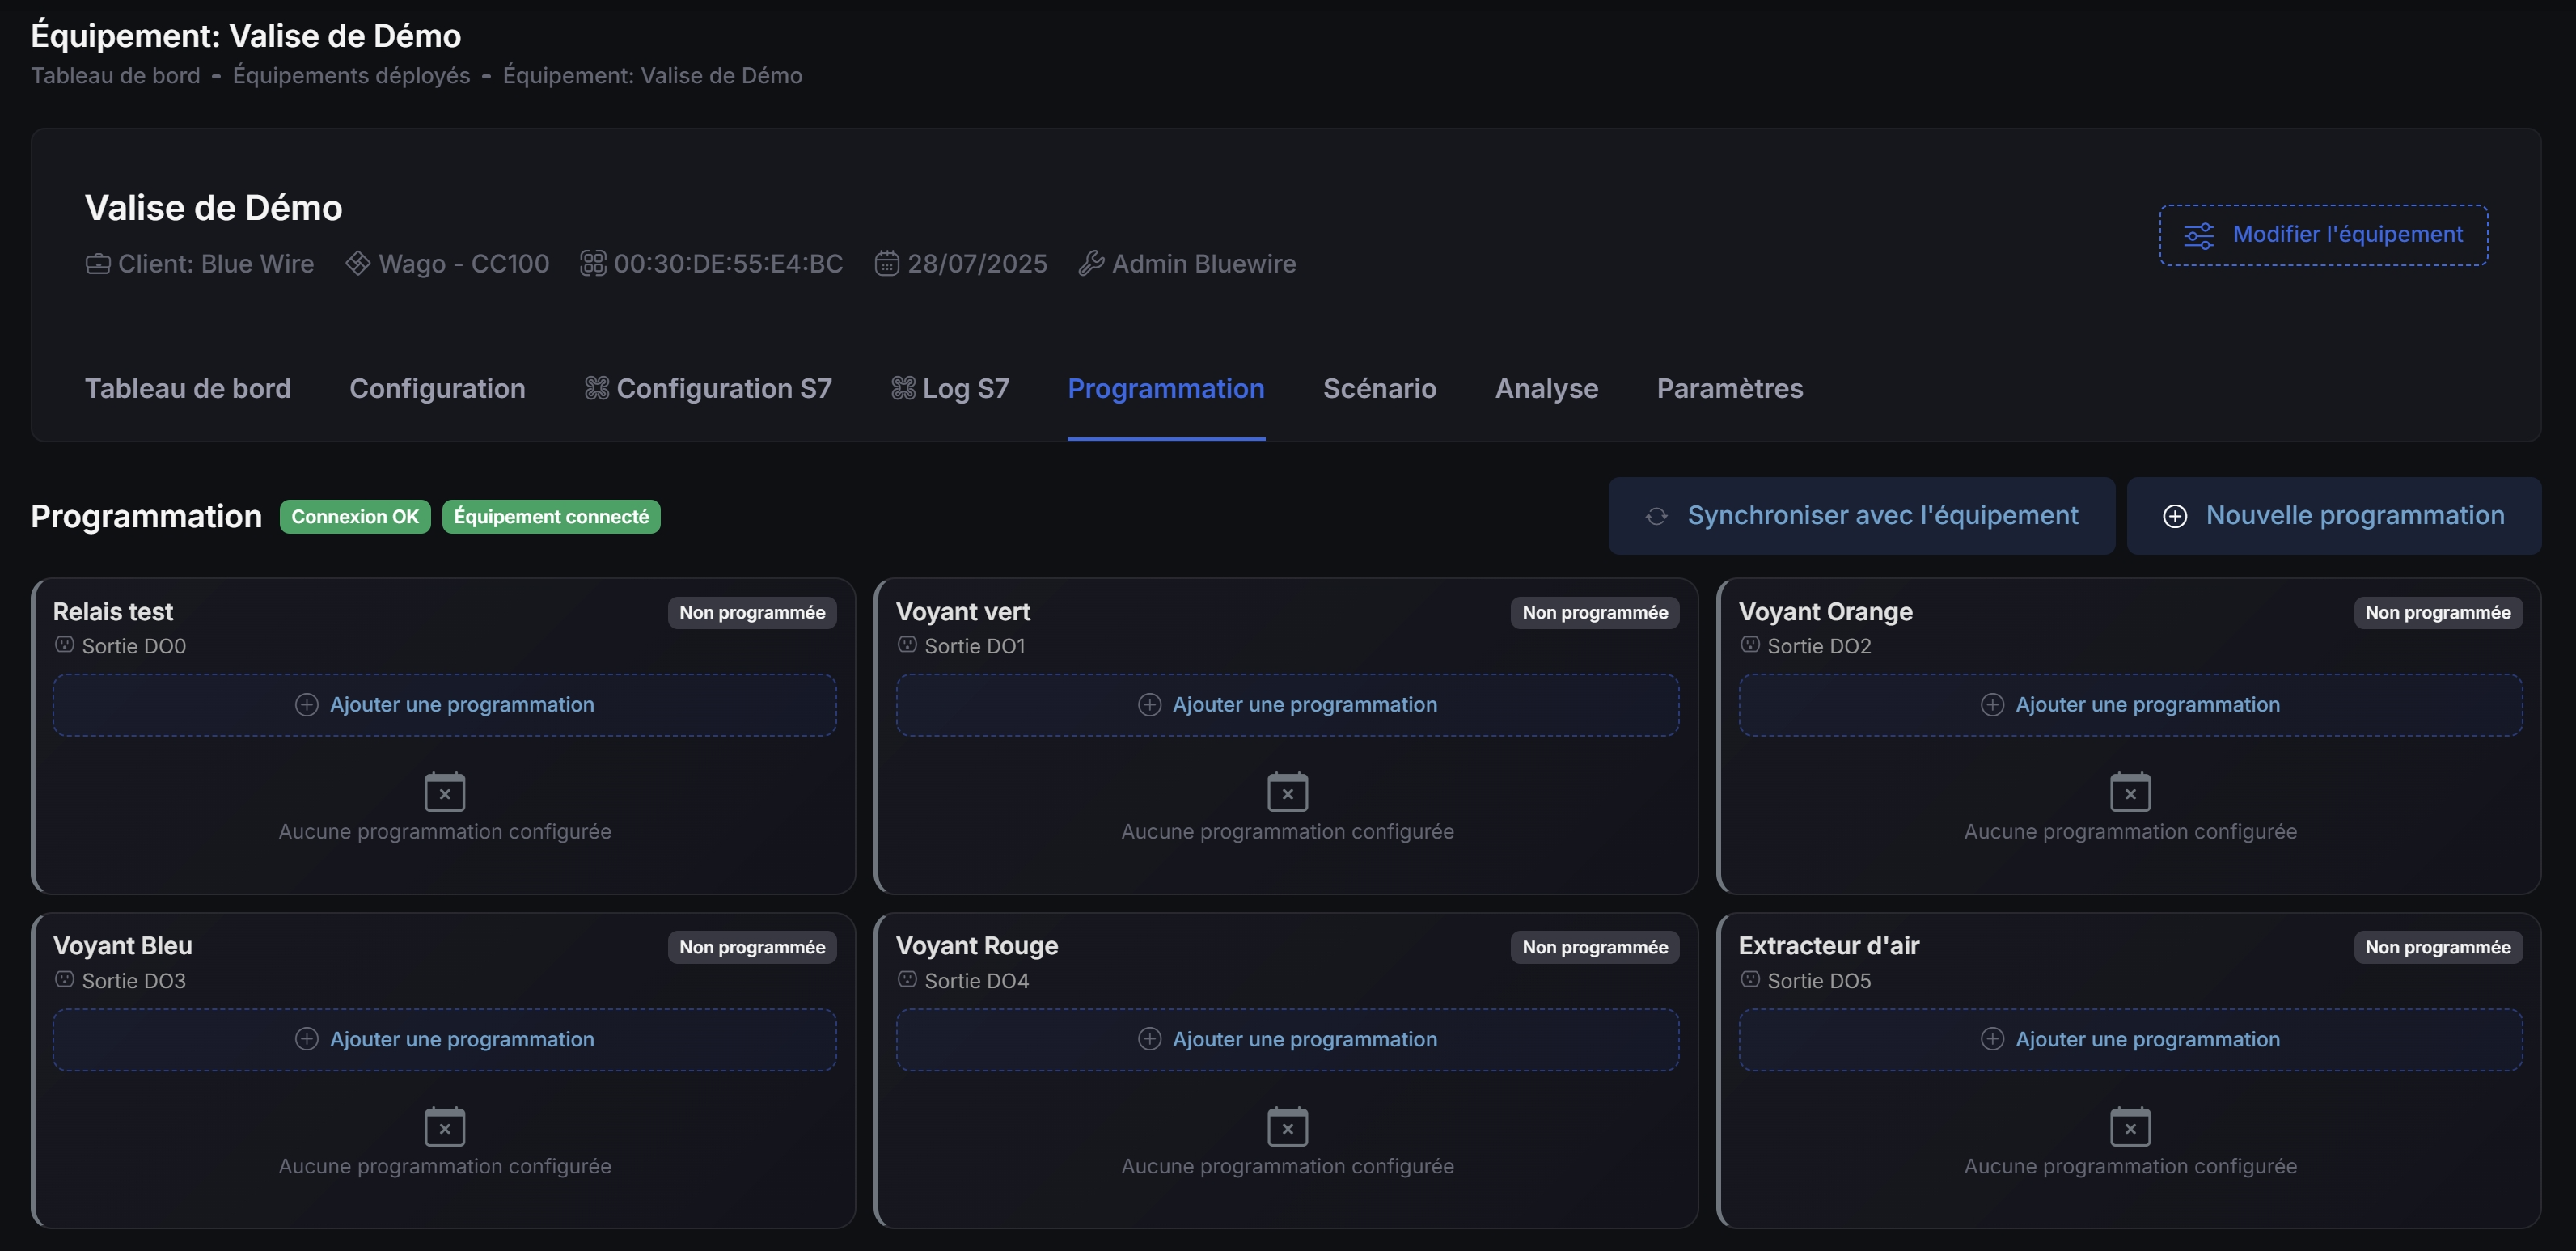
What is a schedule?
A schedule turns an output on or off at set times and repeats weekly. It runs autonomously on the equipment.
Accessing schedules
- Open the equipment page
- Click the Scheduling tab
Prerequisites
- The Scheduling module must be enabled
- At least one output must be configured
Create a schedule
- Click New schedule
- Select the output to program
- Set weekly time ranges per day (you can add multiple ranges)
- Save
Sync with equipment (simple)
Schedules exist in Kodeno and on the equipment.
- After changes, click Synchronize to apply them on the equipment.
- Synchronization ensures the equipment runs the times you set.
Sync states
| Badge | Meaning |
|---|---|
| 🟢 Synchronized | Same on Kodeno and the equipment |
| 🟡 To update | Changes pending synchronization |
| 🔴 Only on equipment | Exists on device but not in Kodeno |
How they run
- Schedules run on the equipment even if Kodeno is offline
- They use the equipment clock (check the device time if you see offsets)
Troubleshooting
- Not switching: confirm schedule is synchronized and equipment is online
- Not visible: refresh and check sync
tip
Use scenarios for conditional automation; schedules are best for time-based actions.